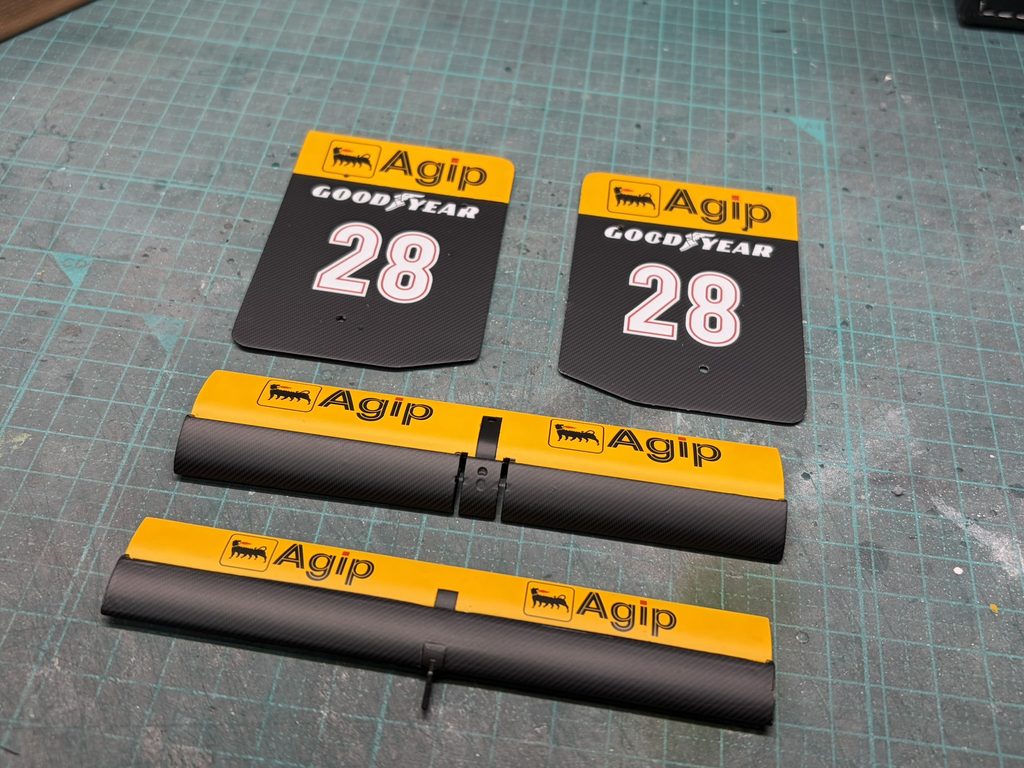
カーボンデカールが完全に乾燥したら、クリアーを吹き付けます。
クリアーが乾燥した後、スポンサーのデカールを貼り付け、さらに十分な乾燥時間を設けます。
With the carbon fiber decals fully dry, a clear coat is applied to protect the surface.
After the clear coat has dried, the sponsor decals are carefully applied, and the parts are left to dry thoroughly before proceeding to the next stage.
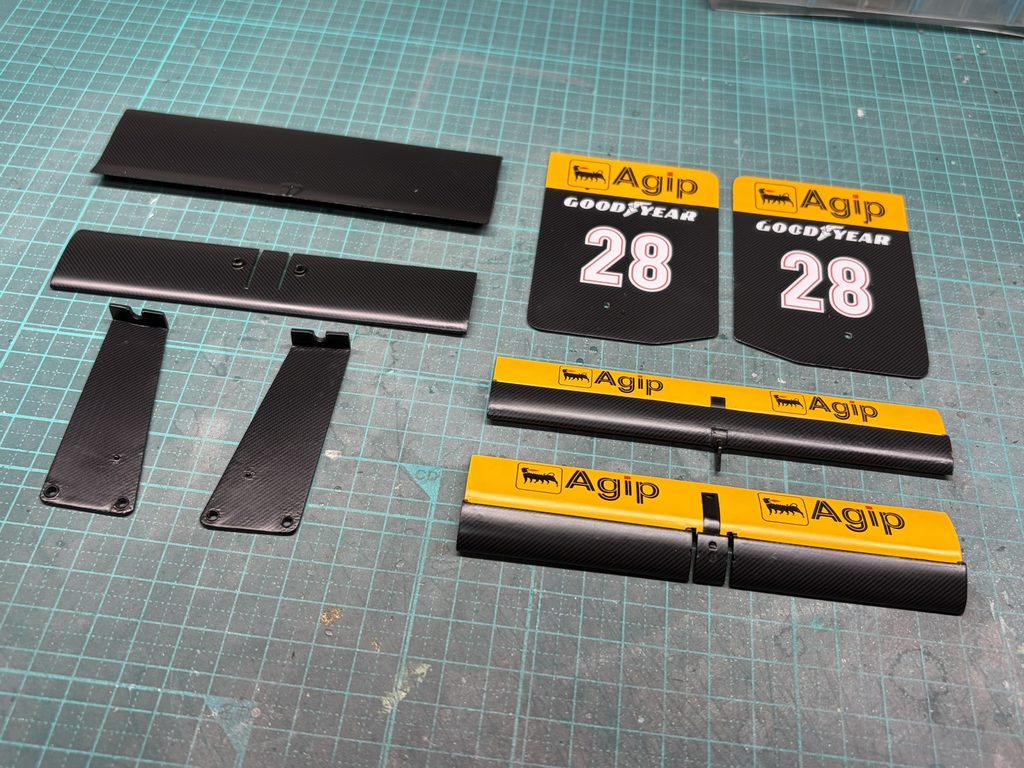
再度クリアーを吹き付け、乾燥後に中研ぎを行います。その後、もう一度クリアーを吹き付け、表面を整えていきます。
Another coat of clear is applied and, after drying, the surface is lightly sanded to smooth out any imperfections. A further coat of clear is then applied to refine and protect the finish.
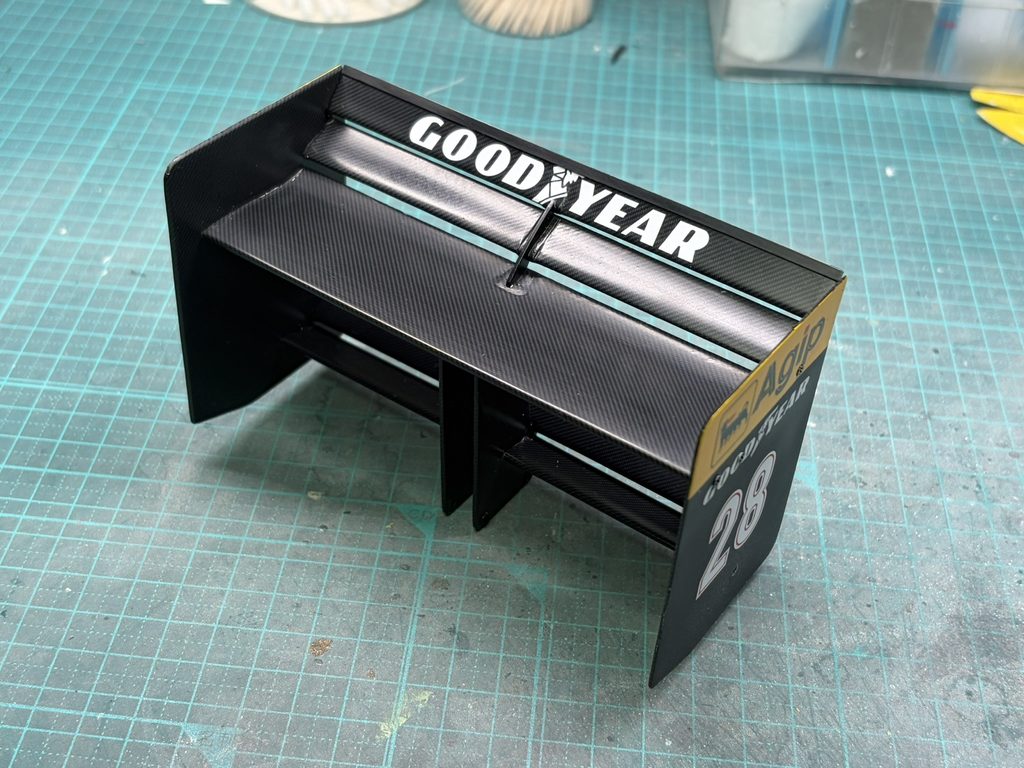
各パーツの表面の艶を調整し、全体の仕上がりを確認しながら組み立てていきます。
With the surface sheen of each component carefully adjusted, the rear wing is ready for assembly. The parts are brought together while checking the overall appearance and finish.
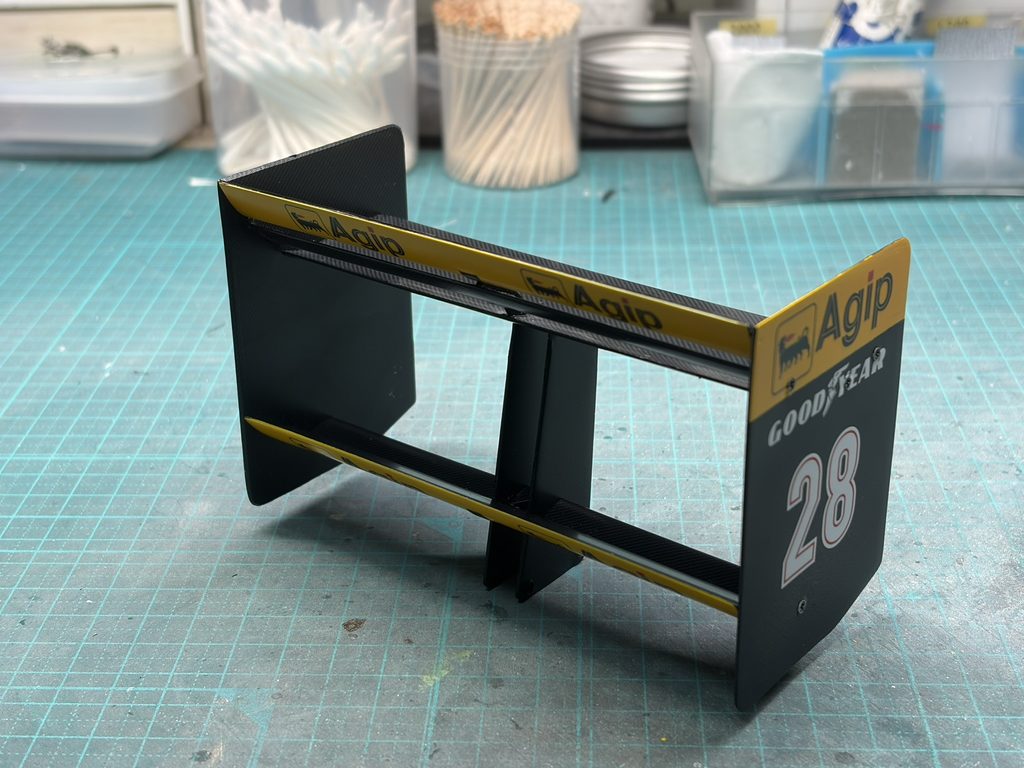
リアウイングの組み立てが完了しました。
本体への取り付けは、ほかのパーツの製作や作業性を考慮し、最終工程で行うことにします。
The rear wing assembly is now complete.
To avoid interfering with the remaining construction work and ensure easier access to other components, installation onto the main assembly will be postponed until the final stage of the build.
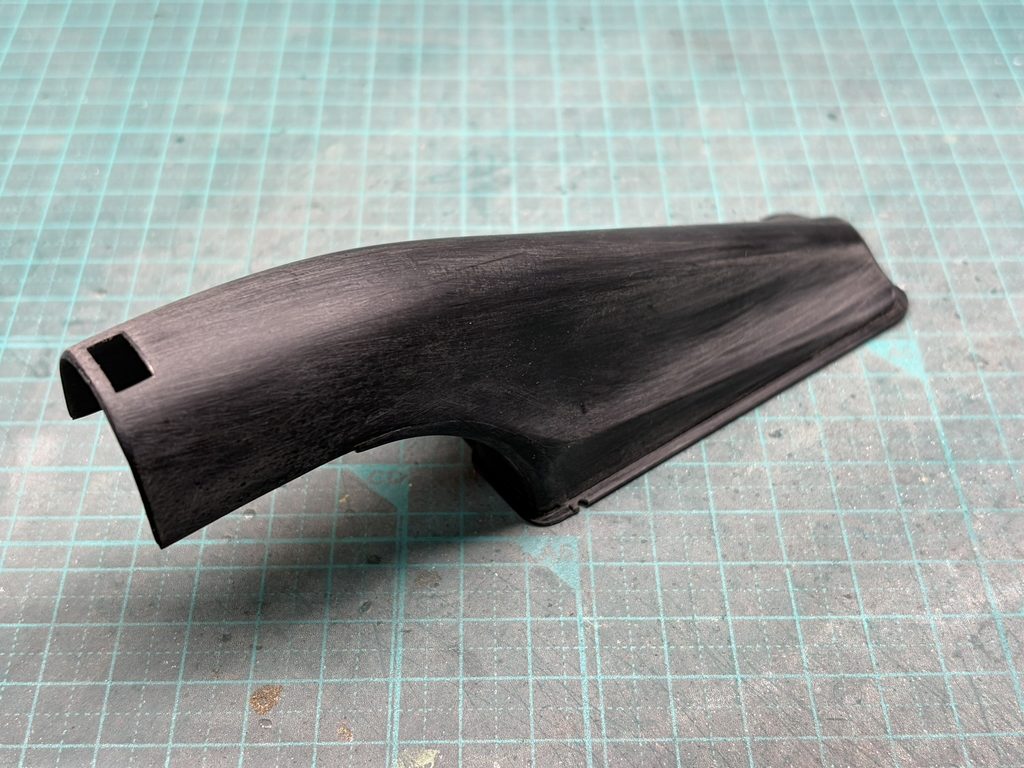
続いて、エアボックスの製作に移ります。
まずはパーツを組み立て、形状の修正や表面処理を行い、塗装に向けて下地を整えていきます。
Next, work begins on the airbox.
The parts are assembled first, followed by reshaping and surface preparation to ensure a clean finish before painting.
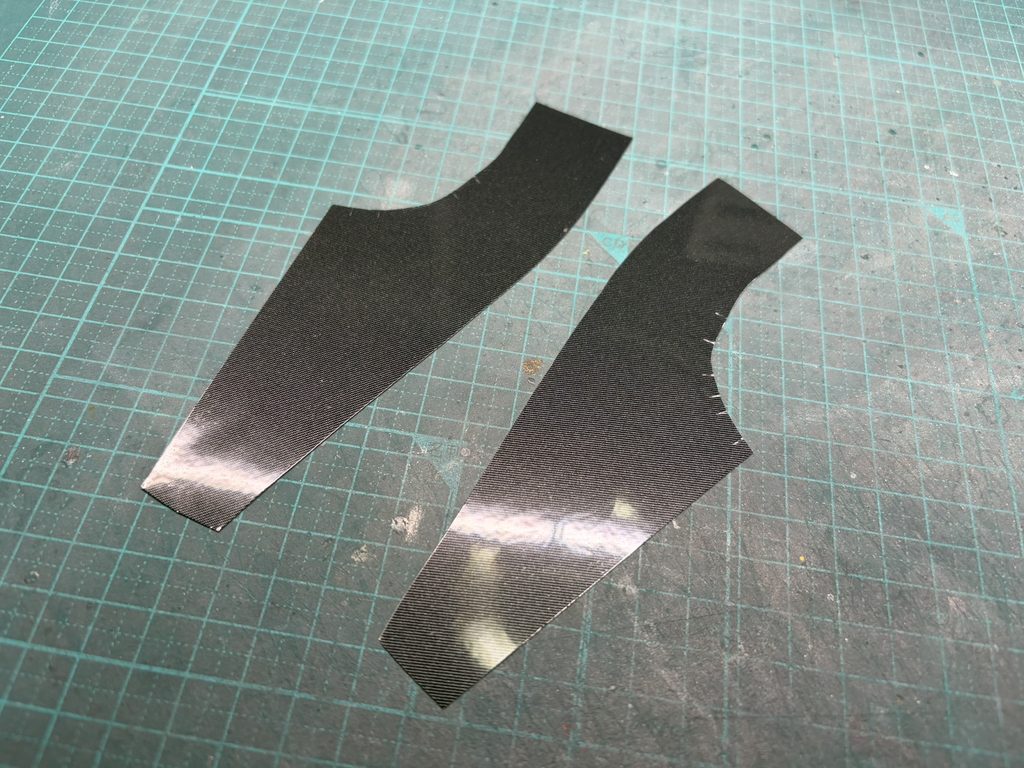
エアボックスもカーボンデカールで仕上げるため、型紙を作成し、各部の形状に合わせてカーボンデカールを切り出していきます。
The airbox will also be finished with carbon fiber decals. Templates are made, and the decals are carefully cut to match the contours of each section.
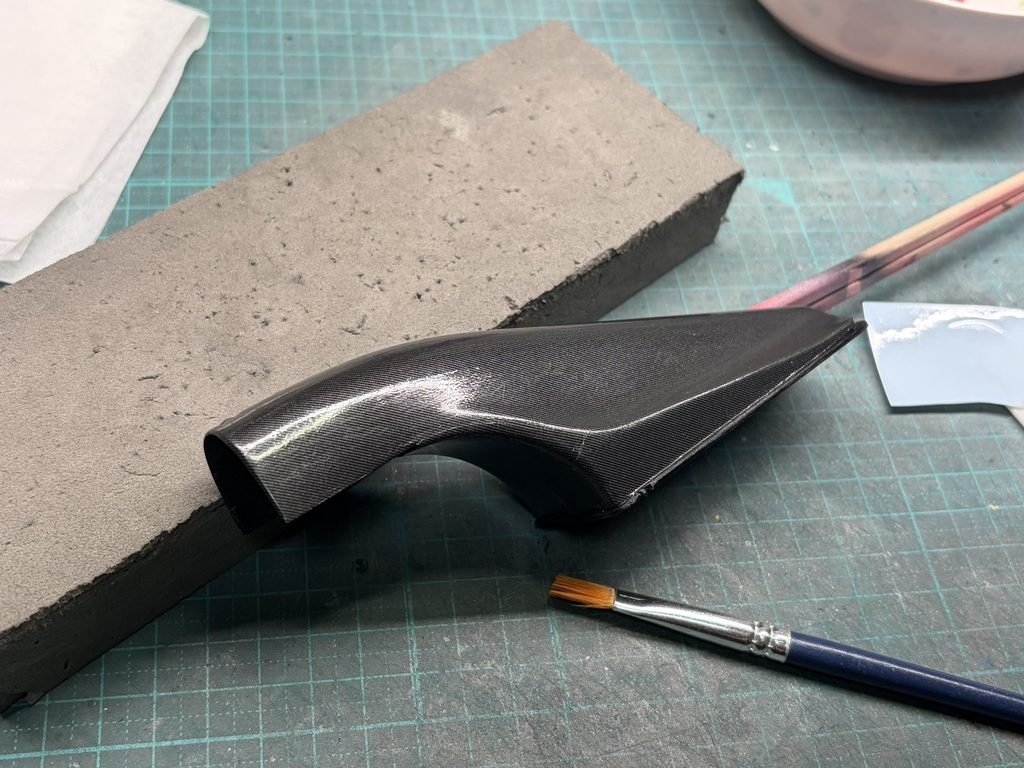
エアボックスの下地処理と塗装が完了したら、カーボンデカールを貼り付けていきます。
With the airbox prepared and painted, the carbon fiber decals are carefully applied to the surface.
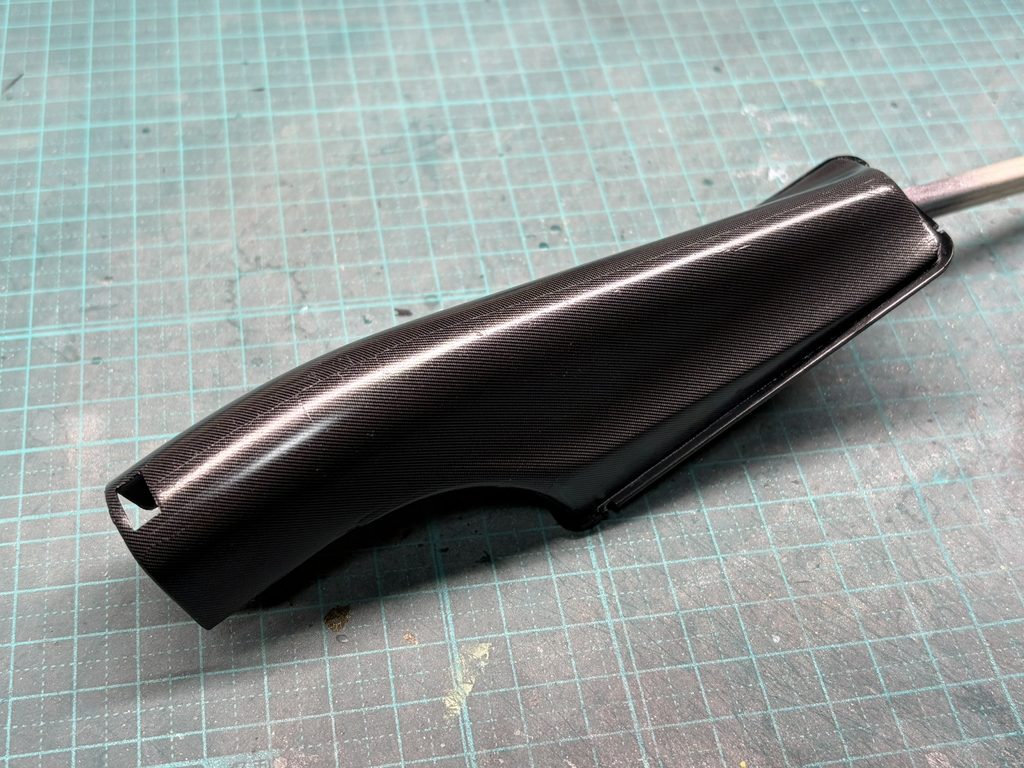
カーボンデカールを貼り付け、十分に乾燥させた後、クリアーを吹き付けます。その後、中研ぎを行い、表面を滑らかに整えていきます。
After the carbon fiber decals have fully dried, a clear coat is applied. The surface is then lightly sanded to smooth out any imperfections and prepare it for the next stage of finishing.
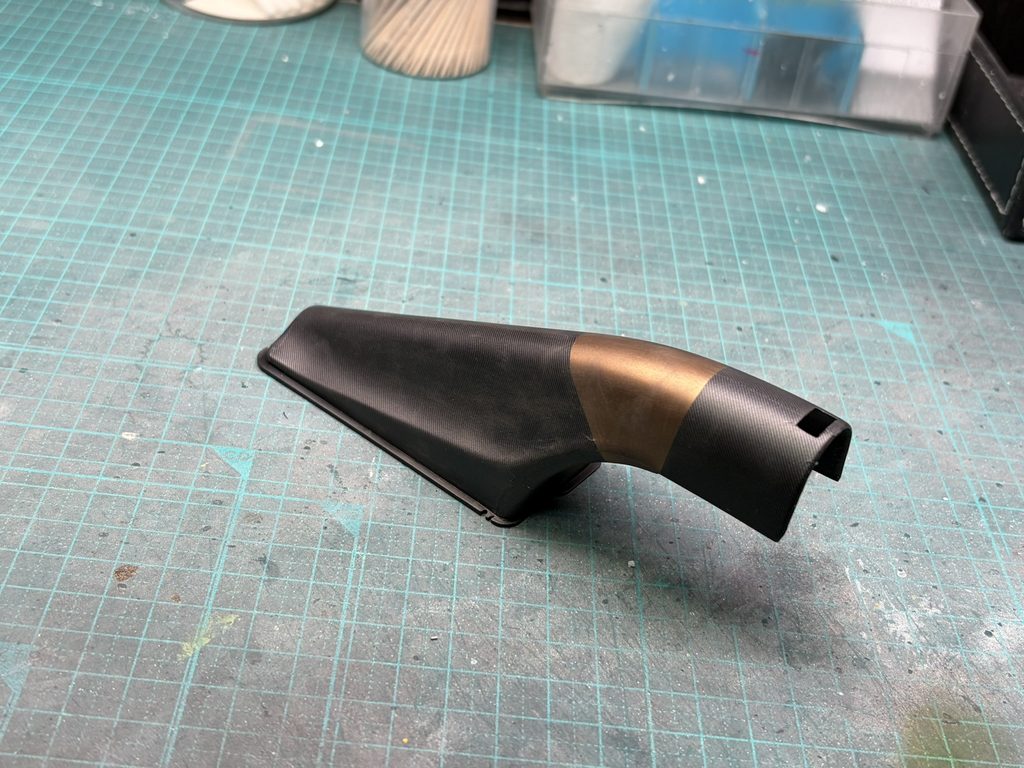
続いて、色の異なる部分を塗装していきます。塗装が十分に乾燥したら、再度クリアーを吹き付けます。
最後に、実車の写真を参考にウェザリングを施し、エアボックスが完成しました。
The remaining areas are then painted to match the different colors of the original components. After the paint has dried thoroughly, another coat of clear is applied.
Finally, weathering is added with reference to photos of the real car, completing the airbox with a more realistic finish.